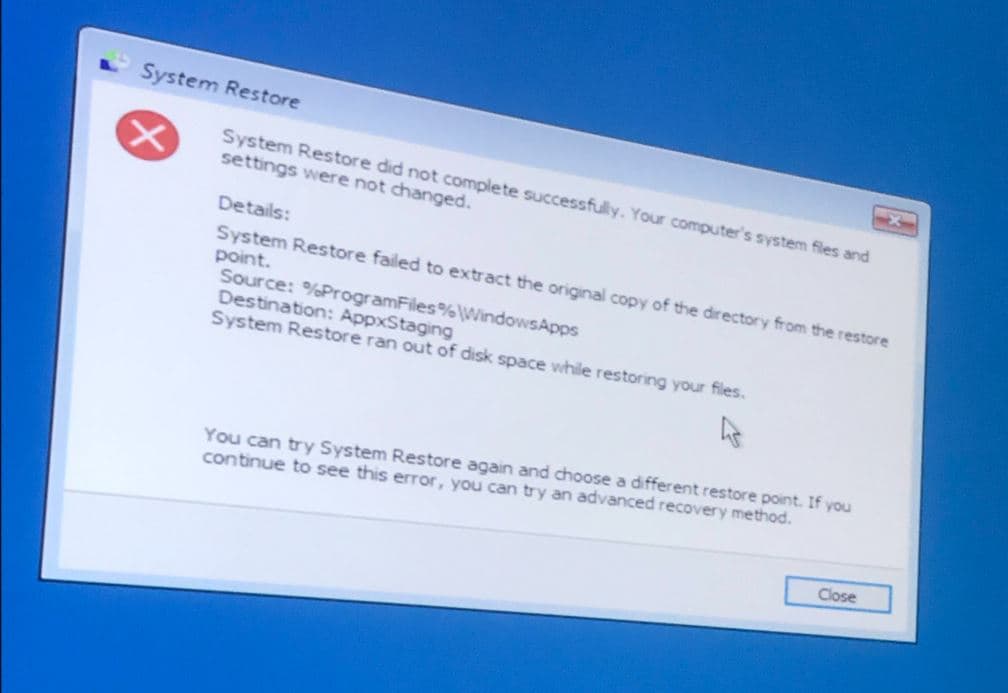
The System Restore feature in Windows 11 allows Restore or revert computer system files and settings to earlier state if something goes wrong. If you encounter problems with newly installed software or drivers, that cause system instability or crashes System Restore can help you revert back and fix the problem. Again in case Windows 11 is infected with malware or viruses, performing a System Restore can help remove the malicious software and restore system stability. But sometimes you may experience System Restore encounters errors and fails to complete successfully. This article explores the reason behind the system restore failure and solutions to address the “System Restore Did Not Complete Successfully” error in Windows 11.
System Restore Not Working on Windows 11
There could be various reasons why System Restore is not functioning properly on Windows 11. It may be certain antivirus or security programs interfere with system restore operation, or the restore points themselves are corrupted or damaged. Again it may be the related service not running, windows system files being corrupted, or Insufficient disk space on the system drive cause “System Restore Did Not Complete Successfully” Error on Windows 11.
And most of time disable security software and run the System Restore in safe mode help complete System Restore without any problem. Again pick a different restore point also very effective to get rid of such errors on Windows 11.
Check Volume Shadow Copy Service
The Volume Shadow Copy Service (VSS) is responsible for create and Manage shadow copies which is essential for successful system restore operating. But if due to any reason the service not running or is stuck it can hinder the functionality of the System Restore function.
- Press Windows key + R, type services.msc and click ok
- Scroll down to locate the “Volume Shadow Copy” service, right-click on it select restart.
- If the service not running, double-click on it to open properties, Ensure that the service is set to “Automatic” startup type.
- Click on the “Start” button to start the service if it is not already running.
- Click “Apply” and then “OK” to save the changes.
In addition, Temporarily disable or uninstall your antivirus or security software, as they may interfere with the System Restore process. And retry the System Restore process. If successful, re-enable your antivirus software to ensure system protection.
Pick a different restore point
Sometimes this issue may occur because the selected restore point is corrupted. And Using different restore points can sometimes help in fixing system restore failure on Windows 11.
- Press Windows key + S, type rstrui.exe and click ok to open the System Restore utility.
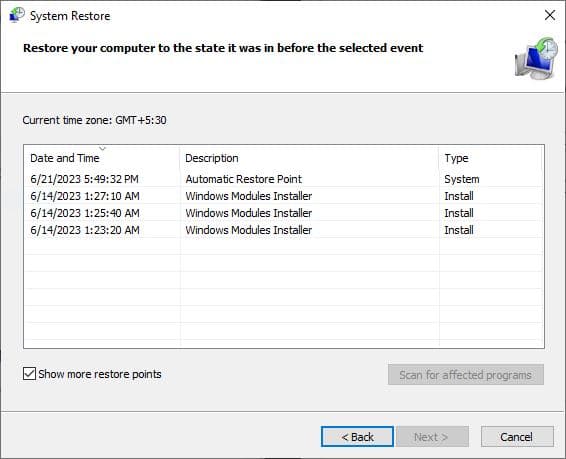
- Click next to proceed, then tick the ‘Show more restore points checkbox
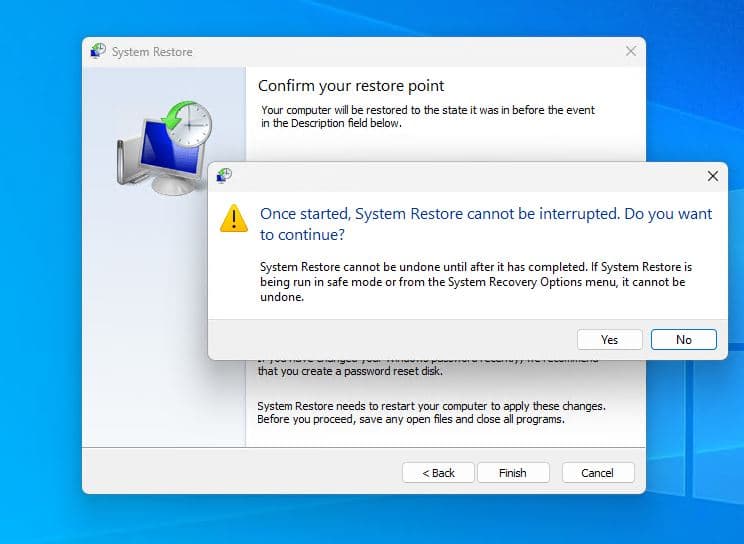
- Now select a different restore point from the list and click next, Review all the details and click Finish
If the error persists, proceed to the next solution.
Run System File Checker (SFC) and DISM command
System Restore relies on the integrity of system files to restore your computer to a previous state. And if due to any reason, one or more critical system files are corrupted, it can prevent System Restore from functioning correctly. In such situations running SFC scan checks for corrupted files and replaces them with healthy versions from Windows Update if available. It can also help fix underlying issues that might be causing the system restore failure.
- Press Windows key + S, type cmd and select run as administrator,
- When the command prompt opens first run the DISM restore health command DISM /Online /Cleanup-Image /RestoreHealth
- Next, run the system file checker command sfc /scannow
These built-in Windows utilities can help identify and repair corrupted system files that may be causing issues with System Restore.
Wait for the scan to complete, once done Restart your computer and try the System Restore again.
Run System Restore in Safe Mode
Running System Restore in Safe Mode can help bypass any potential conflicts caused by third-party applications or services that might interfere with the restoration process. If the above solutions fail to fix the problem, start Windows 11 safe mode and perform System restore again.
To start Windows 11 in safe mode:
- Click on the start menu, then ‘Power’ button in the bottom right of the menu
- Hold down the ‘Shift’ key, While holding down ‘Shift’, click on ‘Restart and Wait for the reboot.
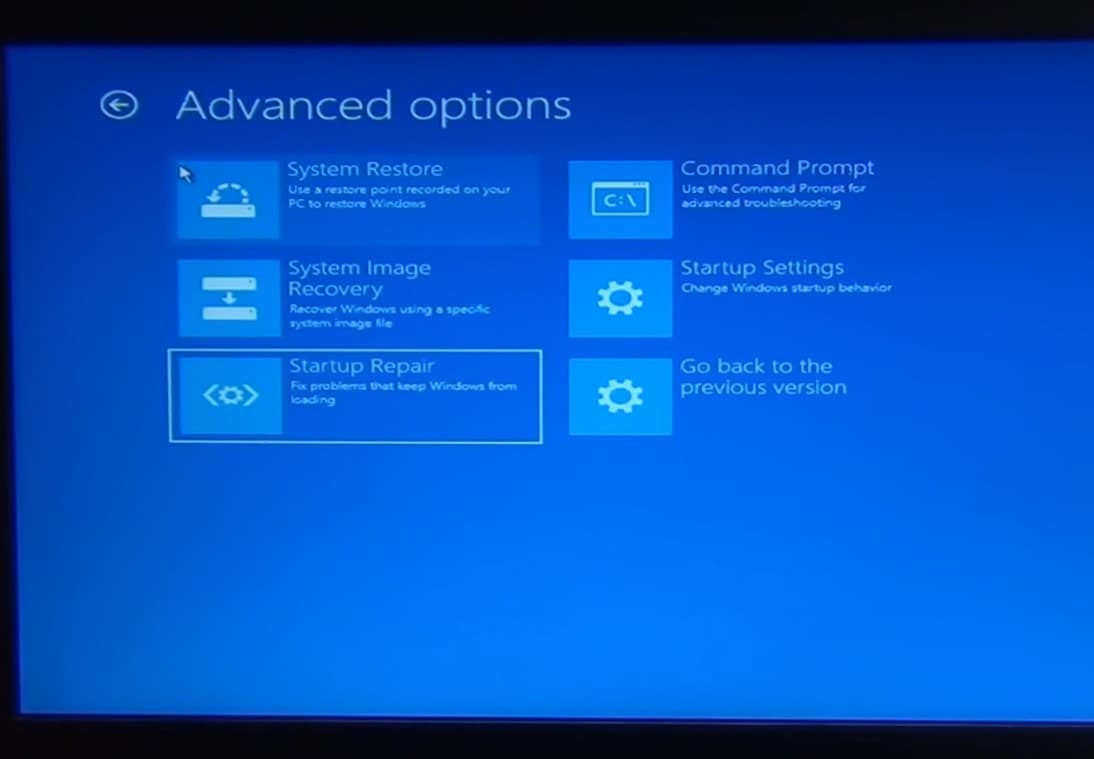
- Next, click on troubleshoot then Advanced options.
- Go to startup settings then restart and click F8 to start Windows 11 in safe mode.
- Once in Safe Mode, open the System Restore utility and attempt to restore your system to a previous point.
- If the error persists, proceed to the next solution.
If due to startup problem windows won’t boot normally or restart frequently, try Access the Advanced options menu and perform System restore from there.
Sometimes Insufficient disk space on the system drive (C Drive) can prevent System Restore from completing successfully. Open File Explorer using Windows key + E, Check the available disk space on your system drive. If the disk space is low, consider freeing up space by deleting unnecessary files or using disk cleanup tools.
How to Check if System Restore is Enabled
This feature is very helpful if you encounter a problem after new software or driver update or when you need to undo unintended system changes. That’s why we always recommend Turn on system protection and Create a System restore point before significant events like Install Hardware driver or install a Windows feature update.
To enable System Restore:
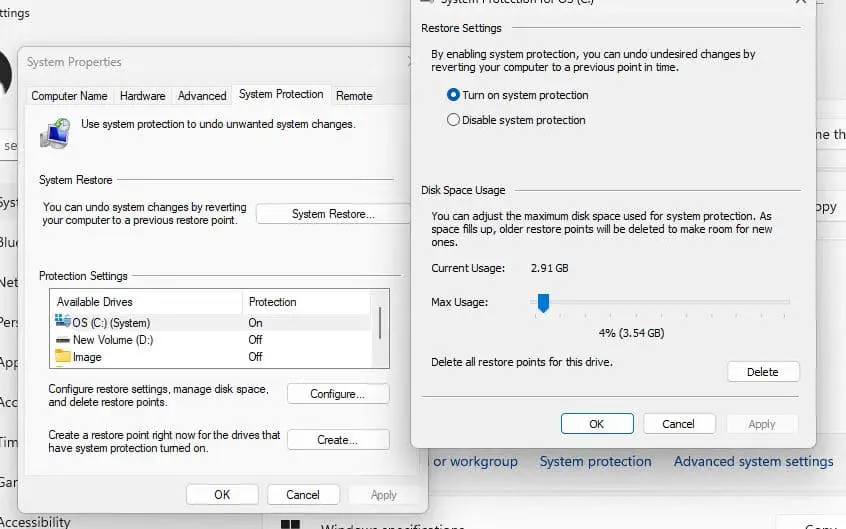
- Press Windows key + R, type sysdm.cpl and click ok to open system properties,
- Move to the system protection tab, click configure then select Turn on System Protection.
- Adjust the disk space usage if needed, Click apply then ok to save changes.
To create a system restore point:
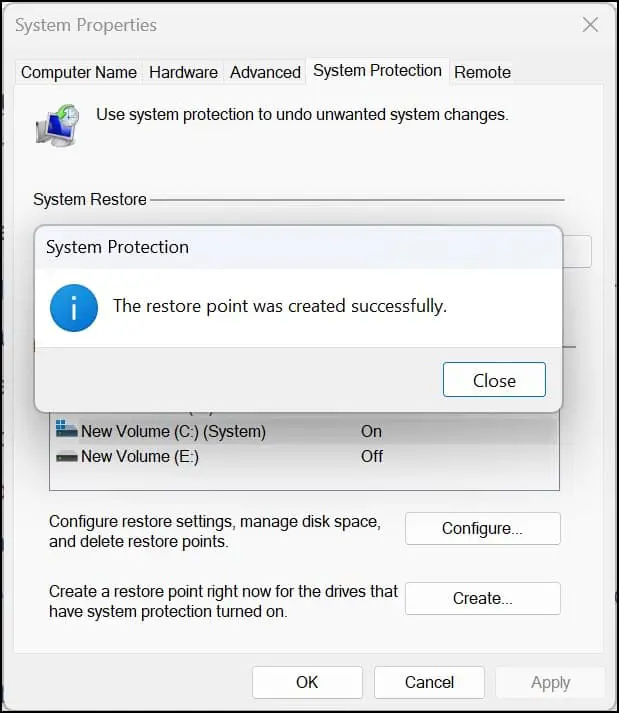
- You can create a new restore point by clicking on the “Create” button in the System Protection tab.
- Give the restore point a descriptive name and click “Create.”
FAQ:
Why is System Restore not working in Windows 11?
- Reasons can include system file corruption, insufficient disk space, disabled Volume Shadow Copy service, antivirus conflicts, or errors in restore points.
How can I fix System Restore not working in Windows 11?
Try Safe Mode, disable antivirus, check disk space, re-enable System Protection, use Windows Recovery Environment, check Volume Shadow Copy service, run SFC scan.
Can I fix System Restore errors without losing data?
- Yes, System Restore errors usually don’t affect personal files. However, it’s wise to back up important data regularly.
What if none of the solutions work?
- Seek assistance from technical support or Microsoft’s official support channels for personalized guidance.
Is there an alternative to System Restore in Windows 11?
- While System Restore is a built-in feature, there may be third-party backup and recovery options available.
Also read:
